⚠️ Installation Requirements and Safety Notice:
This device requires installation. While the installation process is straightforward, please note:
-
You must ensure compliance with local regulations regarding AC unit modifications.
-
Improper installation could void your AC unit’s warranty.
-
Always disconnect power to the AC unit before attempting any installation.
-
If you are unsure about the installation process, please consult a qualified technician.
By proceeding with the installation, you acknowledge that you understand these requirements and will take appropriate safety precautions.
Step 1: Connecting the Controller
1. Connect the Controller to Power:
- Open the cover of the indoor unit of your AC.
- Open the cover of the controller box by unscrewing the screw.
- Identify the Wi-Fi module connector using the installation/service documentation for your exact indoor-unit model. The original Senhus article does not provide a usable connector photograph. If the connector cannot be positively identified, contact Senhus or use a qualified technician before connecting the controller.
- If you have a Panasonic Wi-Fi module installed, remove it first and replace it with the Senhus Connect controller. The Senhus Connect controller uses the same port as the Panasonic Wi-Fi module.
- There will be a red LED on the controller indicating that it is receiving power.
- Once the controller is installed, close the cover of the controller box and screw it back in place.
2. Set Up Wi-Fi Access Point:
- The device will set up a Wi-Fi access point so you can connect to it and configure it to your home Wi-Fi.
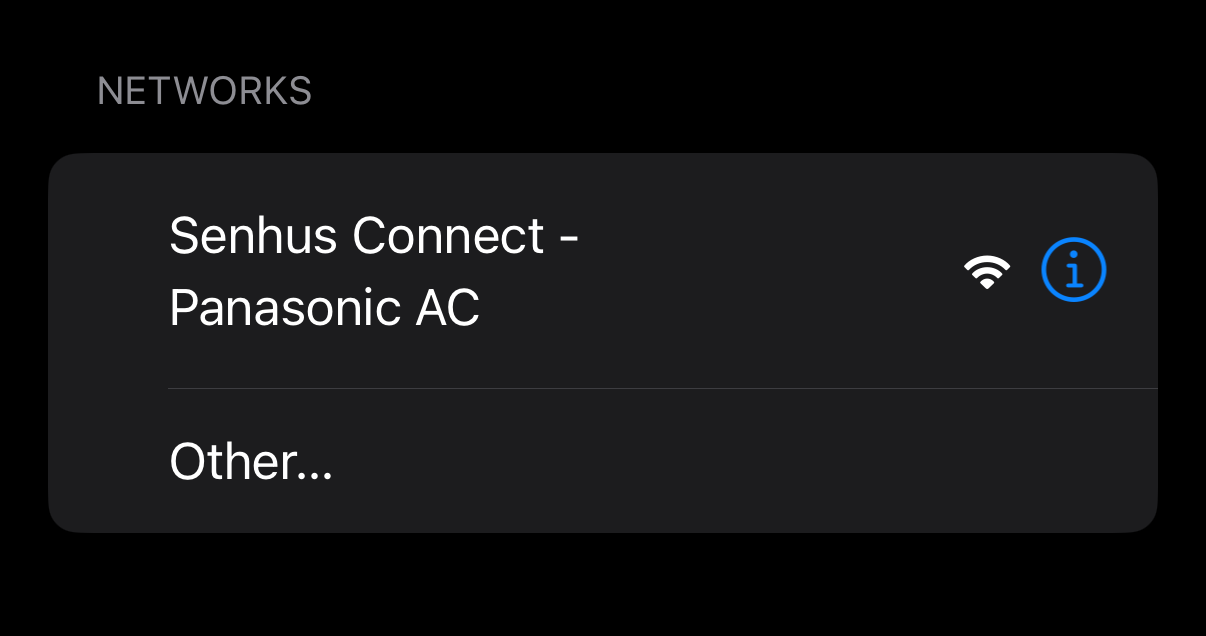
- Go to your Wi-Fi settings on your phone and wait for the access point named Senhus Connect to show up.
3. Connect to the Access Point:
- Select the Senhus Connect access point and wait for a webpage to open automatically.
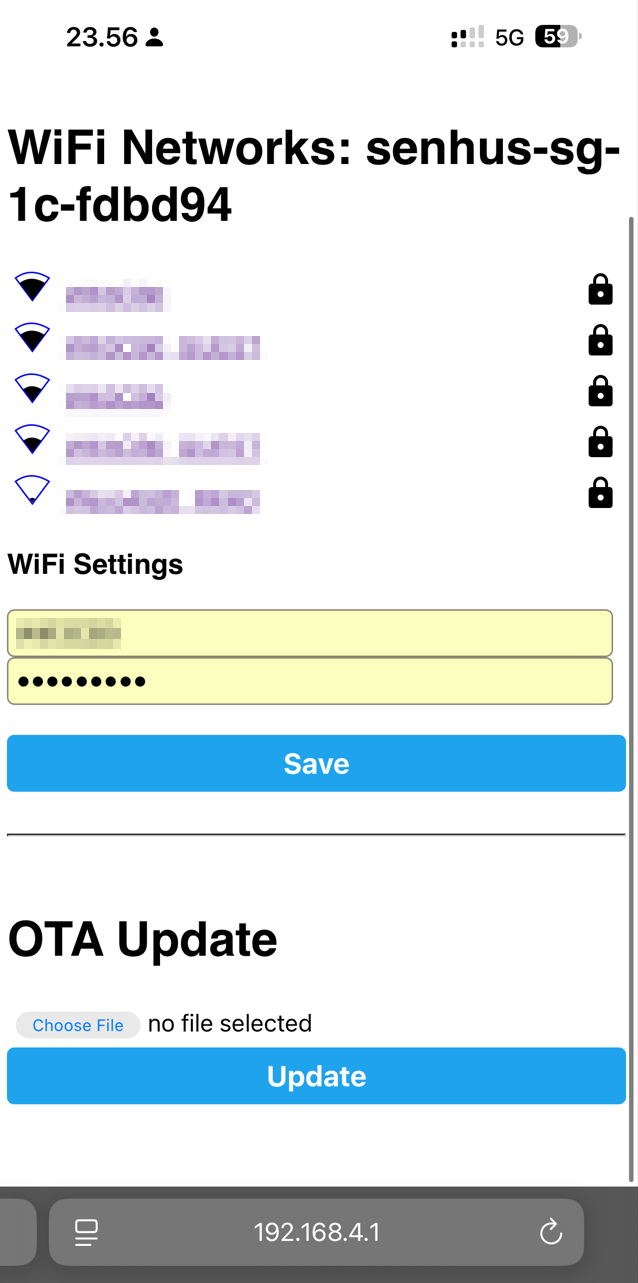
- If the webpage does not open automatically, navigate to http://192.168.4.1.
4. Enter Your Home Wi-Fi Details:
- Select your home Wi-Fi network from the list and enter your password. If you cannot find your Wi-Fi name, enter the SSID manually.
- It will take a couple of minutes for the device to complete the setup.
Step 2: Adding the Controller to Home Assistant
1. Navigate to Home Assistant Devices Page
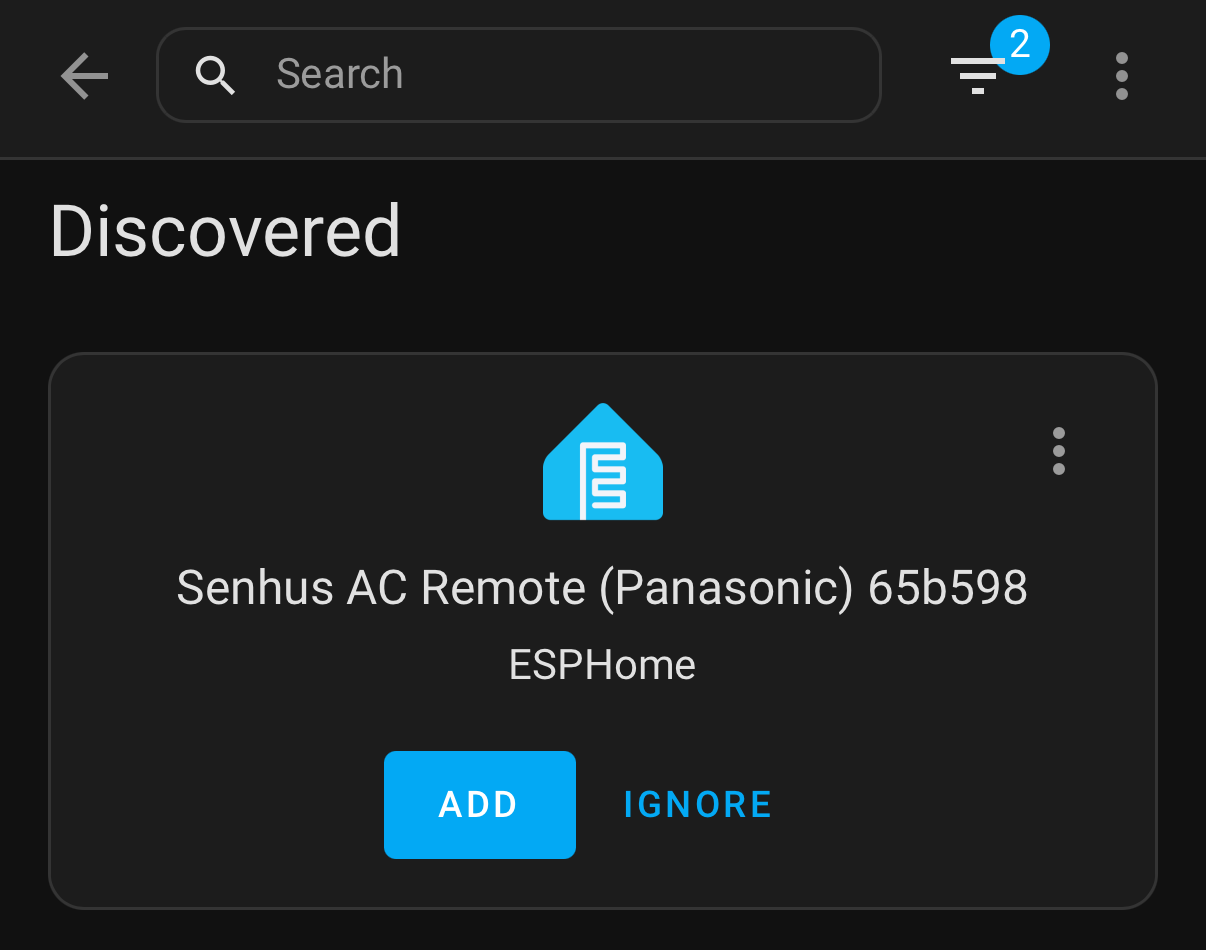
- Go to the Home Assistant Devices page. Home Assistant should automatically detect the device.
2. Add the Controller:
- Click on Add and select the area where the indoor unit of the AC is located.
%5D(%2Fdocs-assets%2Fpac-ap.png)%0A%0A%23%23%203%5C.%20Connect%20to%20the%20Access%20Point%3A%0A%0A-%20%20%20Select%20the%20**Senhus%20Connect**%20access%20point%20and%20wait%20for%20a%20webpage%20to%20open%20automatically.%0A-%20%20%20If%20the%20webpage%20does%20not%20open%20automatically%2C%20navigate%20to%20http%3A%2F%2F192.168.4.1.%0A%0A%23%23%204%5C.%20Enter%20Your%20Home%20Wi-Fi%20Details%3A%0A%0A-%20%20%20Select%20your%20home%20Wi-Fi%20network%20from%20the%20list%20and%20enter%20your%20password.%20If%20you%20cannot%20find%20your%20Wi-Fi%20name%2C%20enter%20the%20SSID%20manually.%0A-%20%20%20It%20will%20take%20a%20couple%20of%20minutes%20for%20the%20device%20to%20complete%20the%20setup.%0A%0A%5B!%5Bwifi%20config%202%5D(%2Fdocs-assets%2Fwifi-config-2.png)%5D(%2Fdocs-assets%2Fwifi-config-2.png)%0A%0A%23%23%20Step%202%3A%20Adding%20the%20Controller%20to%20Home%20Assistant%0A%0A%23%23%201%5C.%20Navigate%20to%20Home%20Assistant%20Devices%20Page%0A%0A-%20%20%20Go%20to%20the%20Home%20Assistant%20Devices%20page.%20Home%20Assistant%20should%20automatically%20detect%20the%20device.%0A%0A%5B!%5Bpac%20discovered%5D(%2Fdocs-assets%2Fpac-discovered.png)%5D(%2Fdocs-assets%2Fpac-discovered.png)%0A%0A%23%23%202%5C.%20Add%20the%20Controller%3A%0A%0A-%20%20%20Click%20on%C2%A0**Add**%C2%A0and%20select%20the%20area%20where%20the%20indoor%20unit%20of%20the%20AC%20is%20located.%0A)